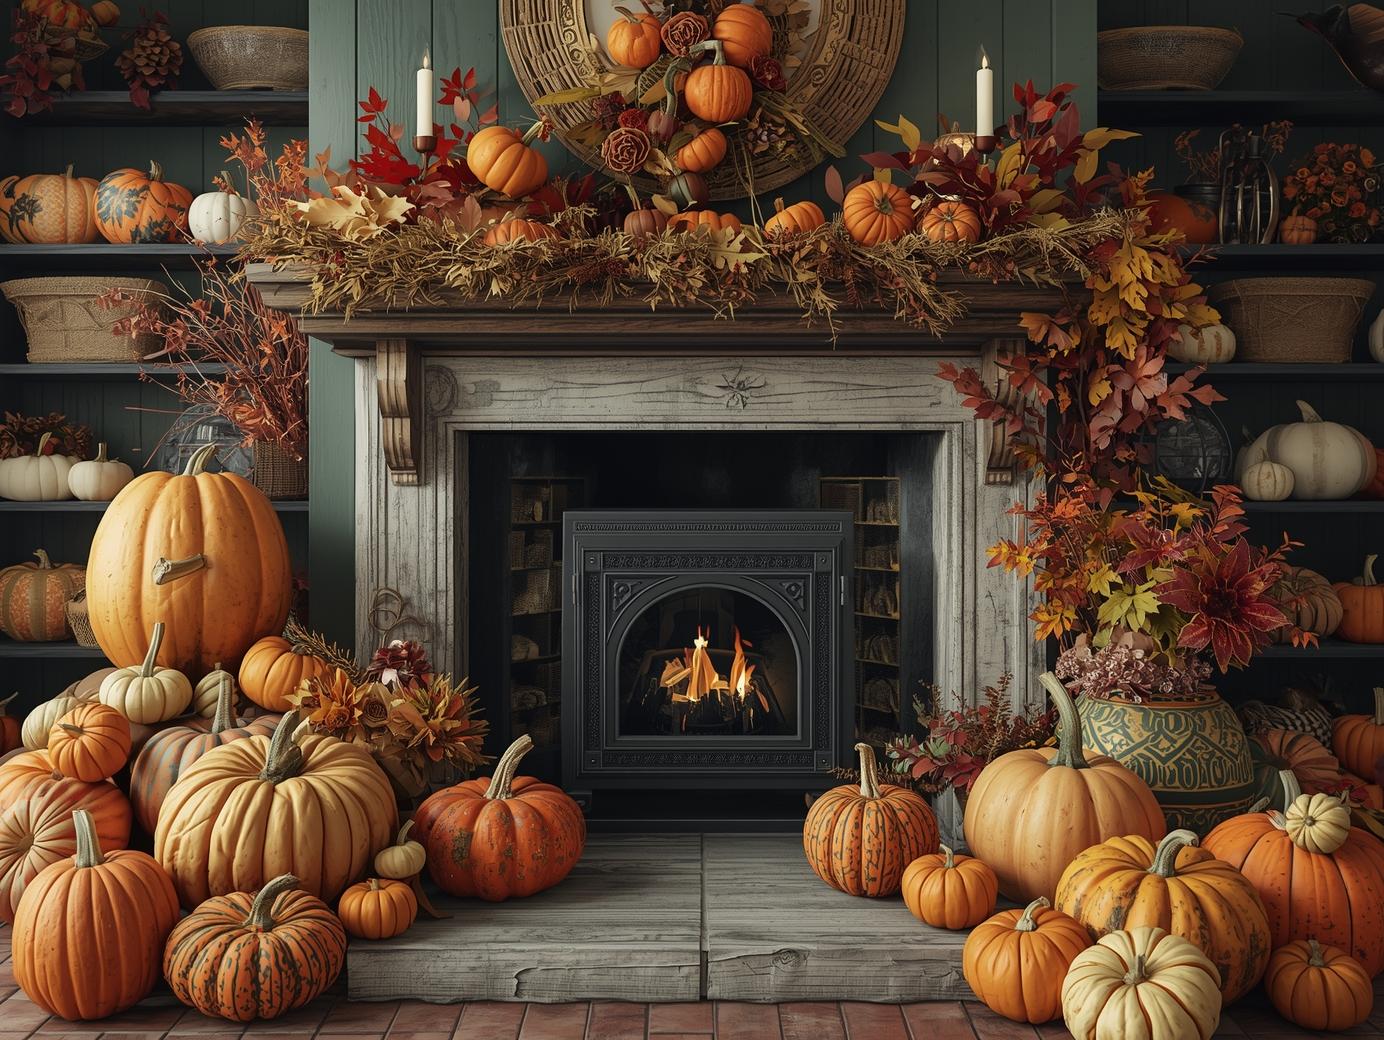

Want a Halloween home that feels festive without spending a fortune on store-bought decorations? These DIY Halloween decorations use easy-to-find supplies such as paper, jars, fabric, yarn, cardboard, and pumpkins. Most projects take less than an hour, and you can adapt the colours and details to suit a cosy, playful, or delightfully spooky home.
Below are 10 homemade Halloween decorations with materials, simple steps, estimated time, and styling ideas. Whether you are decorating a mantel, front porch, party table, or a small apartment, you can make a memorable Halloween display on a budget.
What are DIY Halloween decorations? DIY Halloween decorations are seasonal displays and crafts made at home using materials such as paper, jars, fabric, paint, yarn, cardboard, and natural branches. They let you personalise your Halloween style, reuse everyday items, and control how much you spend.
How were these ideas selected? This collection focuses on projects with accessible craft materials, clear step-by-step instructions, flexible styling options, and practical safety notes. Time and cost figures are estimates, not guaranteed prices.
1. DIY Paper Bat Wall Decorations
Time: 20–30 minutes · Difficulty: Easy · Estimated cost: $3–$8
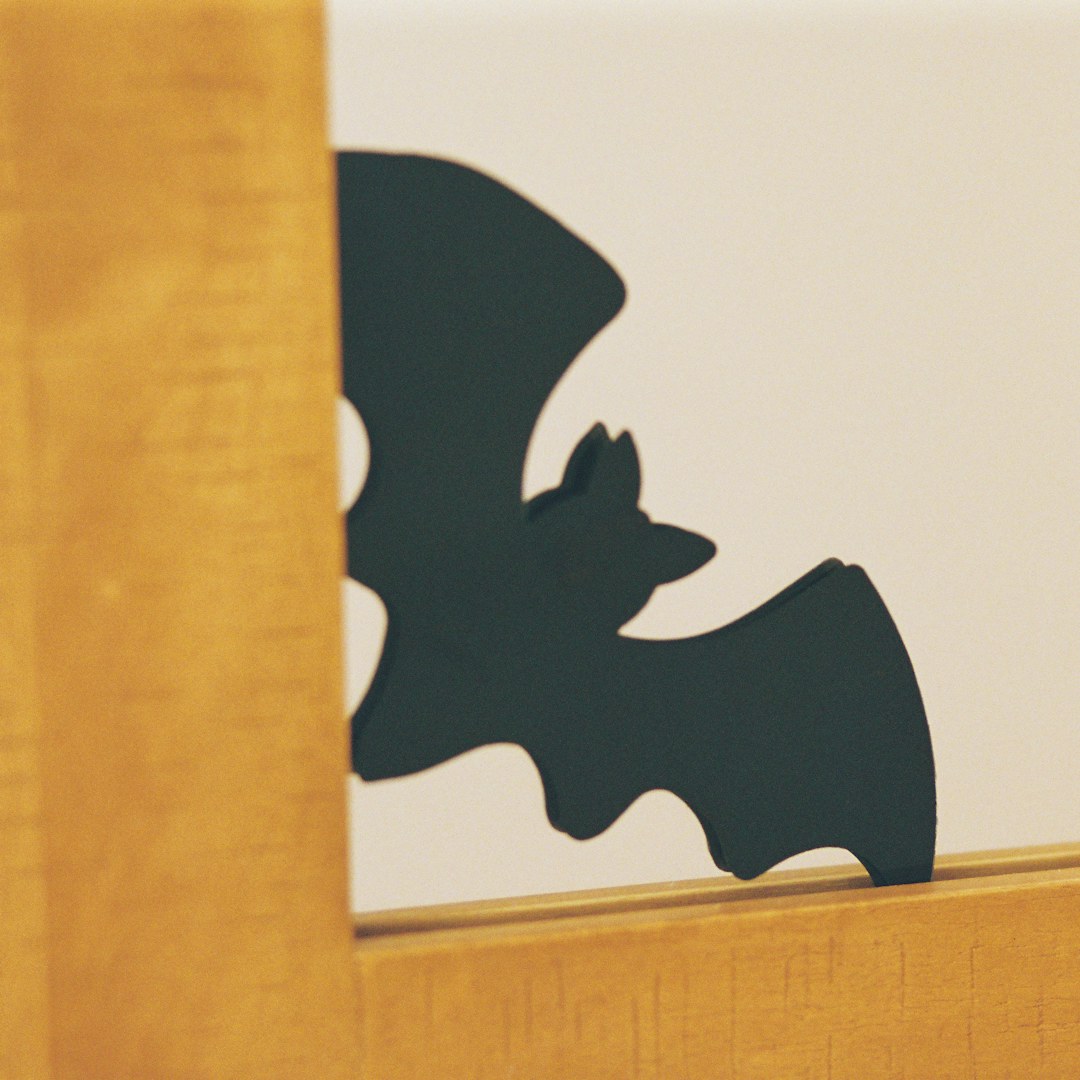
A paper bat wall is one of the easiest homemade Halloween decorations because it creates a big visual effect with very little material. Arrange the bats as if they are flying from a doorway, across a mantel, or up a staircase wall.
You will need: black cardstock, pencil, scissors, removable wall-safe adhesive dots, and a bat template drawn by hand or printed for personal use.
- Fold a sheet of cardstock in half and draw half of a bat silhouette along the fold.
- Cut out the shape and unfold it to create a symmetrical bat.
- Use this first bat as a template to trace several different sizes.
- Fold the wings slightly outward to give each bat a little dimension.
- Attach the bats with removable adhesive, starting with a loose cluster and spreading them outward.
Styling tip: Mix small and large silhouettes and let the pattern curve around a mirror or picture frame. Test adhesive on an inconspicuous area first, especially on delicate paint or wallpaper.
2. DIY Mummy Mason Jar Lanterns

Time: 15–25 minutes · Difficulty: Easy · Estimated cost: $4–$10
Turn clean glass jars into friendly mummy lanterns. Their soft glow looks lovely on a console table, kitchen shelf, or Halloween party table.
You will need: clean glass jars, white gauze or strips of white fabric, craft glue or double-sided tape, googly eyes, and battery-operated tea lights.
- Wash and completely dry the jars, removing any labels and sticky residue.
- Secure one end of the gauze near the base with a small piece of tape.
- Wrap the fabric around the jar, overlapping the strips and leaving a small gap for the eyes.
- Glue on two googly eyes and allow the adhesive to dry.
- Place a battery-operated tea light inside and switch it on when displaying the jar.
Styling tip: Make three jars in different heights and group them on a tray with paper leaves or mini pumpkins. Use battery lights rather than a real flame; fabric and paper should be kept away from heat.
3. Floating Cheesecloth Ghosts
Time: 30–45 minutes plus drying time · Difficulty: Easy · Estimated cost: $5–$12
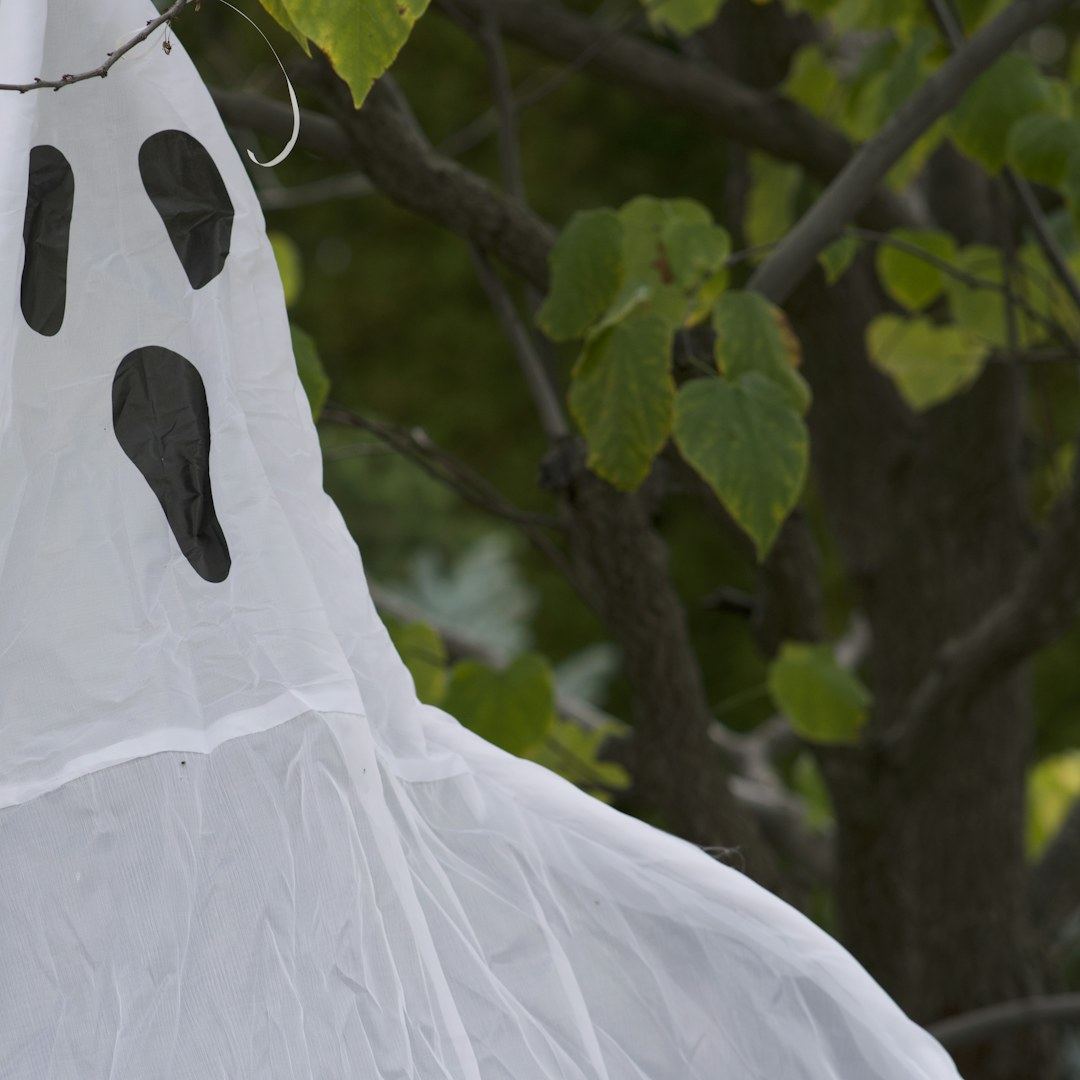
Lightweight cheesecloth ghosts add movement to a Halloween display. Hang a few at different heights near a doorway, covered porch, or party backdrop.
You will need: cheesecloth, a small balloon or foam ball, a cup or bottle to support the shape, washable fabric stiffener, black felt or paper, and clear thread.
- Place the balloon or foam ball on top of a cup to create a head and shoulders form.
- Drape cheesecloth over the form, allowing the edges to fall unevenly.
- Apply fabric stiffener according to its label and let the cloth dry fully.
- Remove the support carefully once the fabric holds its shape.
- Add small black eyes and attach clear thread at the top for hanging.
Styling tip: Hang the ghosts where they can move gently, but keep them away from candles, heaters, fans, and walkways. For outdoor use, secure them against wind and bring them inside during rain.
4. Painted No-Carve Halloween Pumpkins

Time: 30–60 minutes plus drying time · Difficulty: Easy · Estimated cost: $5–$15
Painting pumpkins is a mess-free alternative to carving and makes it easy to match your Halloween colour palette. Try matte black, warm white, muted sage, metallic gold, or simple hand-painted faces.
You will need: clean pumpkins, acrylic craft paint suitable for the surface, paintbrushes, painter’s tape, and a protective work surface.
- Wipe the pumpkin clean and let its surface dry.
- Apply a thin base coat and allow it to dry before adding another coat if needed.
- Use painter’s tape for stripes or geometric shapes, or paint simple stars, moons, dots, and faces by hand.
- Let the paint cure fully according to the paint instructions.
- Arrange the pumpkins in groups of three, varying their sizes and finishes.
Styling tip: Place painted pumpkins on a mantel, entry table, or covered porch. If using real pumpkins, check them regularly for soft spots and discard any that begin to rot. Keep decorative paint away from food-contact surfaces.
5. DIY Halloween Potion Bottles

Time: 20–40 minutes · Difficulty: Easy · Estimated cost: $3–$10
Give empty bottles a second life as a miniature witch’s apothecary. This project works especially well on bookshelves, side tables, and Halloween party buffets.
You will need: clean empty bottles, paper, scissors, glue, a black marker, ribbon or twine, and optional water-based craft paint for the outside.
- Collect bottles in different shapes and remove their labels.
- Cut small paper labels and write playful names such as “Moon Dust,” “Midnight Tonic,” or “Dragon’s Breath.”
- Age the paper visually by lightly crumpling it and flattening it again; keep it away from open flames.
- Attach each label with glue and tie twine around the neck of the bottle.
- Arrange the bottles on a tray with a few books or faux leaves.
Styling tip: Use empty, sealed display bottles only. Clearly mark them as decorations and keep them out of reach of children and pets. Never store drinks, chemicals, or edible ingredients in decorative containers that could be mistaken for something else.
6. DIY Yarn Spider Web Decorations

Time: 20–35 minutes · Difficulty: Easy · Estimated cost: $3–$8
A yarn spider web is a simple way to fill a blank wall, porch corner, or window. White yarn stands out against a dark background, while black yarn creates a subtler look on a light wall.
You will need: yarn, removable hooks or painter’s tape, scissors, and optional lightweight faux spiders.
- Choose a flat area and mark the centre point of the web.
- Stretch three or four long strands outward from the centre to create spokes.
- Tie a separate length of yarn near the centre and weave it around the spokes in expanding rings.
- Leave a little slack so the web has a handmade, irregular shape.
- Add one or two lightweight faux spiders if desired.
Styling tip: Make one oversized web rather than lots of small ones for a cleaner look. Avoid placing yarn where people may walk into it or where it could catch on pets.
7. DIY Floating Witch Hats
Time: 20–30 minutes · Difficulty: Easy · Estimated cost: $8–$18
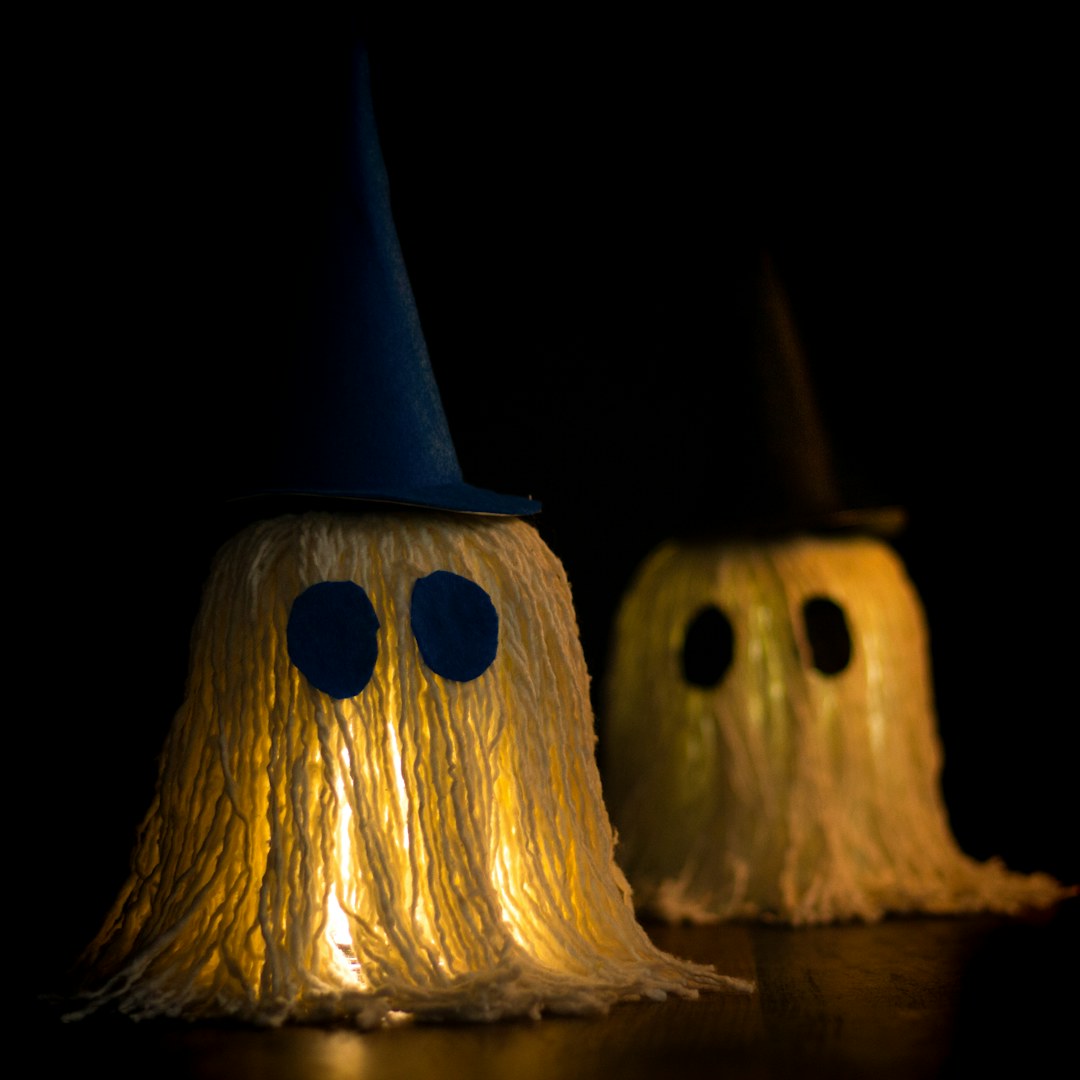
Floating witch hats create a dramatic overhead display for an entryway or covered party space. Lightweight ready-made hats are easiest to use, but you can also make simple cones and brims from black craft paper.
You will need: lightweight black witch hats, clear fishing line, a needle or small hole punch, removable ceiling hooks, and optional ribbon.
- Make a small attachment point inside each hat near its top.
- Tie clear fishing line securely through the attachment point.
- Vary the line lengths so the hats hang at different heights.
- Attach the line to removable hooks approved for your ceiling surface and weight.
- Step back and adjust the spacing so the hats look like they are drifting through the room.
Styling tip: Hang the hats above a photo backdrop or entry table, not above a cooking area, ceiling fan, or path where someone could bump into them. Check every hook before guests arrive.
8. DIY Cardboard Halloween Tombstones

Time: 45–75 minutes · Difficulty: Moderate · Estimated cost: $5–$15
Make a mini graveyard for a covered porch or sheltered yard using sturdy cardboard. This is a fun way to create a Halloween scene without buying large props.
You will need: large corrugated cardboard, pencil, craft knife, ruler, grey and black paint, a brush, and cardboard supports or stakes suitable for your display location.
- Draw rounded, arched, or irregular tombstone shapes on the cardboard.
- Cut out the shapes carefully on a protected surface; an adult should handle craft knives.
- Paint the front grey and add darker shading around the edges to suggest aged stone.
- Write playful fictional names or short messages such as “Rest in Pieces” using black paint.
- Attach a folded cardboard support to the back or secure the pieces to appropriate stakes for a sheltered display.
Styling tip: Arrange tombstones at different angles with pumpkins and faux leaves. Cardboard is not weatherproof, so use it indoors or under a covered porch and bring it inside if rain or strong wind is expected.
9. DIY Halloween Ghost Garland

Time: 25–40 minutes · Difficulty: Easy · Estimated cost: $4–$10
For a softer, friendlier Halloween look, make a garland of little fabric ghosts. Drape it across a mantel, bookshelf, party table, or bedroom doorway.
You will need: white fabric or lightweight cloth, cotton balls or scrap fabric for stuffing, string, black felt, scissors, and a needle and thread or fabric-safe glue.
- Cut the fabric into equal squares, approximately 6–8 inches wide.
- Place a small ball of stuffing in the centre of each square.
- Gather the fabric underneath the stuffing and tie it with string to form a ghost head.
- Add two small black felt eyes to each ghost.
- Attach the ghosts to a longer piece of string, spacing them evenly.
Styling tip: Alternate the ghosts with paper stars or small felt pumpkins. Keep the garland away from candles, fireplaces, and other heat sources.
10. DIY Spooky Halloween Branch Centerpiece

Time: 20–35 minutes · Difficulty: Easy · Estimated cost: $0–$10
A branch centerpiece brings a little woodland atmosphere to a Halloween table. It is also a useful way to decorate vertically when you do not have much table space.
You will need: a clean, dry fallen branch, a sturdy vase, small stones or sand to weigh the vase, optional black craft paint, and lightweight paper bats or faux leaves.
- Choose a dry branch with an interesting shape and check that it has no insects or loose bark.
- Place it in a heavy vase and add stones or sand until it stands securely.
- Leave the branch natural for a rustic look or paint it outdoors in a well-ventilated area and allow it to dry completely.
- Hang a few lightweight paper bats or small ornaments from the twigs.
- Set the vase on a stable surface and keep the arrangement away from candles and busy walkways.
Styling tip: Surround the vase with mini pumpkins, dark foliage, or a simple fabric runner. Keep the arrangement balanced so it cannot tip easily.
How to Make DIY Halloween Decorations Look More Expensive
You do not need lots of colours or complicated supplies to create a polished Halloween look. Choose a small palette and repeat it throughout the room. Black, warm white, muted orange, and natural wood create a classic cosy style; adding one metallic accent can make the display feel more finished.
- Repeat materials: Use the same black cardstock, gauze, or ribbon in more than one project to make the decorations feel coordinated.
- Vary the heights: Group tall, medium, and small objects together instead of lining everything up at the same level.
- Use trays: A tray helps potion bottles, pumpkins, and small props look like an intentional arrangement.
- Leave breathing room: A few well-placed decorations usually look better than covering every surface.
- Layer soft textures: Combine fabric, paper, glass, and natural branches for visual interest.
- Plan the lighting: Use battery-operated candles or LED tea lights for a warm glow without an open flame.
If you want more room-by-room inspiration, explore our easy Halloween decor ideas, create a printable display with our free printable Halloween decorations, or get more outdoor inspiration from our Halloween porch ideas. You can also browse our witch Halloween decor ideas and Halloween office decorating ideas.
Halloween Decoration Safety Tips
Keep homemade Halloween displays safe as well as attractive. The National Fire Protection Association’s Halloween fire-safety guidance recommends keeping decorations away from open flames and heat sources, using battery-operated lights where possible, and keeping exits clear. NFPA reports an annual average of 835 home structure fires beginning with decorations from 2020–2024.
- Choose battery-operated tea lights for jars, pumpkins, and fabric displays instead of open flames.
- Keep paper, gauze, yarn, dried branches, and other combustible materials away from candles, heaters, and hot light bulbs.
- Secure hanging decorations so they cannot fall into walkways, doorways, or onto heat sources.
- Keep stairs, exits, and paths clear, especially if guests or trick-or-treaters will visit.
- Use scissors, craft knives, hot glue, and other sharp or hot tools with appropriate adult supervision.
Frequently Asked Questions About DIY Halloween Decorations
What are the easiest DIY Halloween decorations to make?
Paper bats, painted pumpkins, mummy jars, and ghost garlands are among the easiest projects. They use common craft supplies, require few tools, and can usually be completed in under an hour.
How can I make cheap Halloween decorations at home?
Reuse clean jars, cardboard boxes, scrap fabric, paper, and fallen branches. Add a small amount of paint, yarn, or ribbon, and repeat the same colour palette across several projects to make inexpensive materials look coordinated.
What DIY Halloween decorations are good for small apartments?
Choose decorations that use vertical space and do not take up much floor area, such as paper bats, a yarn spider web, a small ghost garland, potion bottles on a shelf, or a compact branch centerpiece.
How early should I put up Halloween decorations?
Many people begin decorating in late September or early October. Indoor paper and fabric decorations can go up earlier, while outdoor displays should be timed around local weather and kept secure.
How do I make Halloween decorations safe around children and pets?
Use battery-operated lights instead of open flames, avoid small detachable pieces where they may be swallowed, secure hanging decorations, and keep craft knives, adhesives, paint, and glass containers out of reach. Check decorations regularly for loose parts.
Can I reuse homemade Halloween decorations next year?
Yes. Store dry paper crafts flat, wrap glass jars and bottles carefully, and keep fabric ghosts in a clean, dry container. Make sure everything is completely dry before packing it away to help prevent mould and damage.
Final Thoughts
Making your own Halloween decorations is a simple way to give your home personality while keeping your seasonal budget under control. Start with one or two projects, such as a paper bat wall and painted pumpkins, then add a ghost garland or potion bottle display as you have time. The best homemade Halloween decor is the kind that fits your space, feels fun to make, and can be enjoyed safely throughout the season.
Cost note: The dollar amounts in this guide are rough estimates for common craft supplies and will vary by location, store, and materials you already own. Always follow product labels and use appropriate adult supervision and safety precautions.