12 Home Gym Ideas That Make Working Out Easy & Fun (2026)
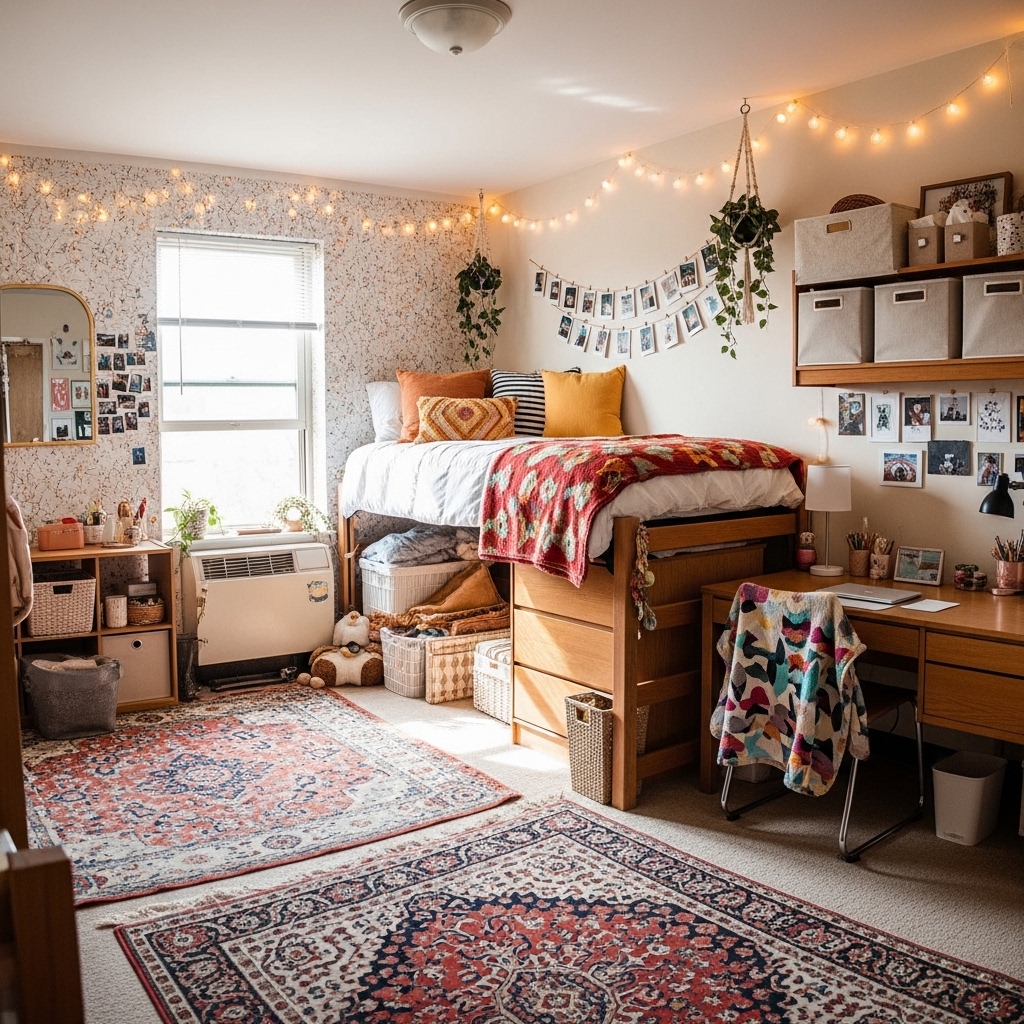
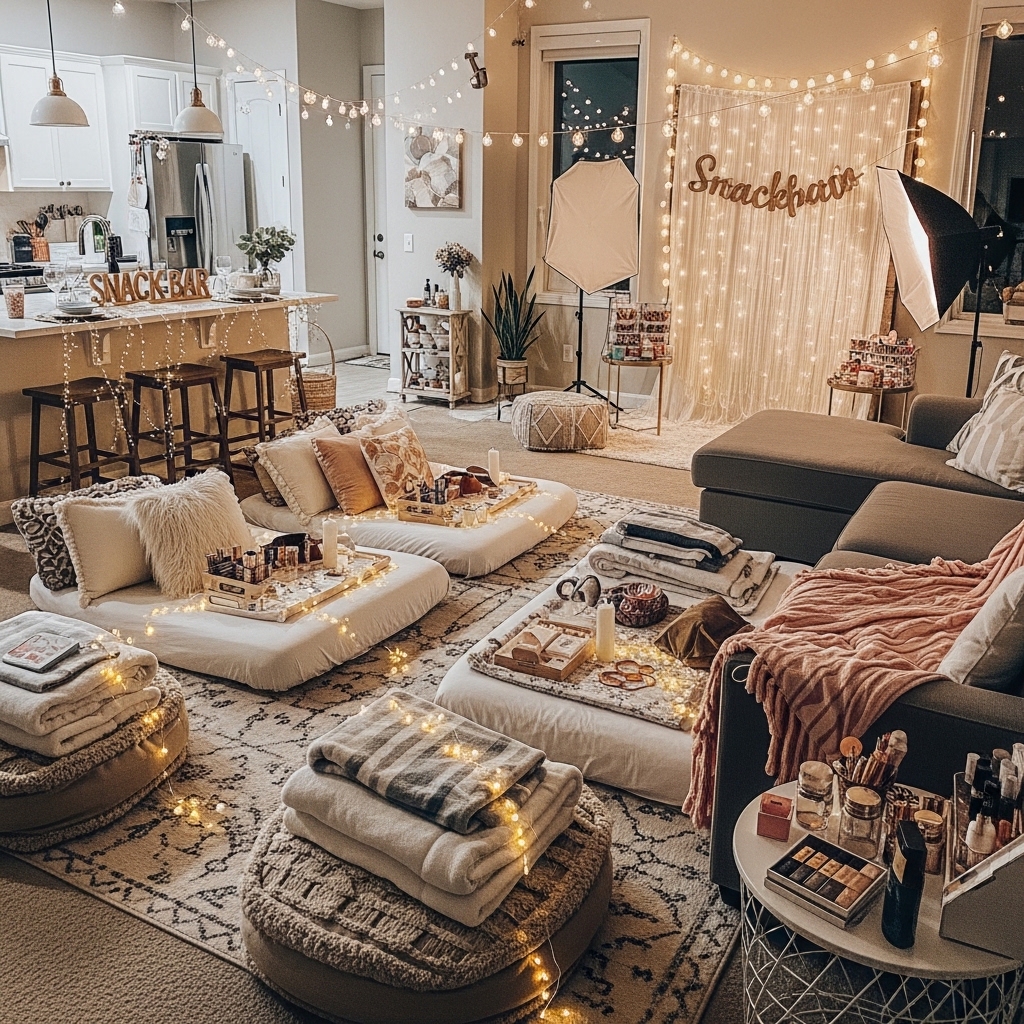
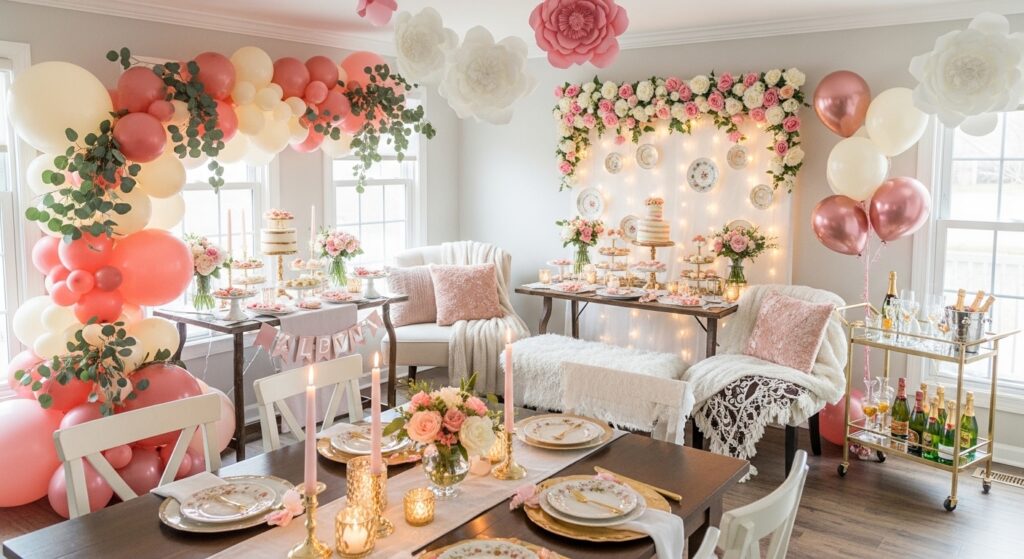
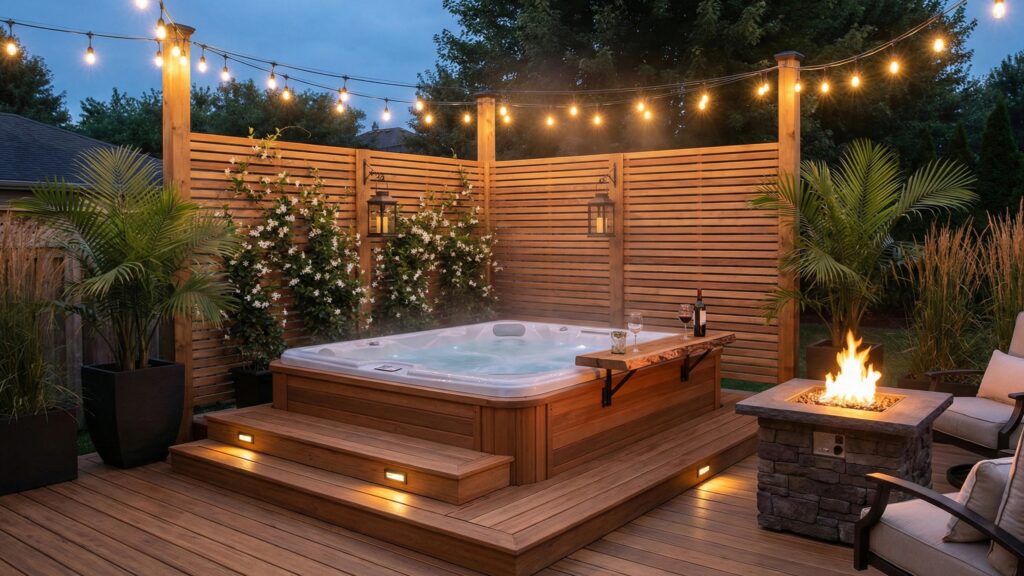
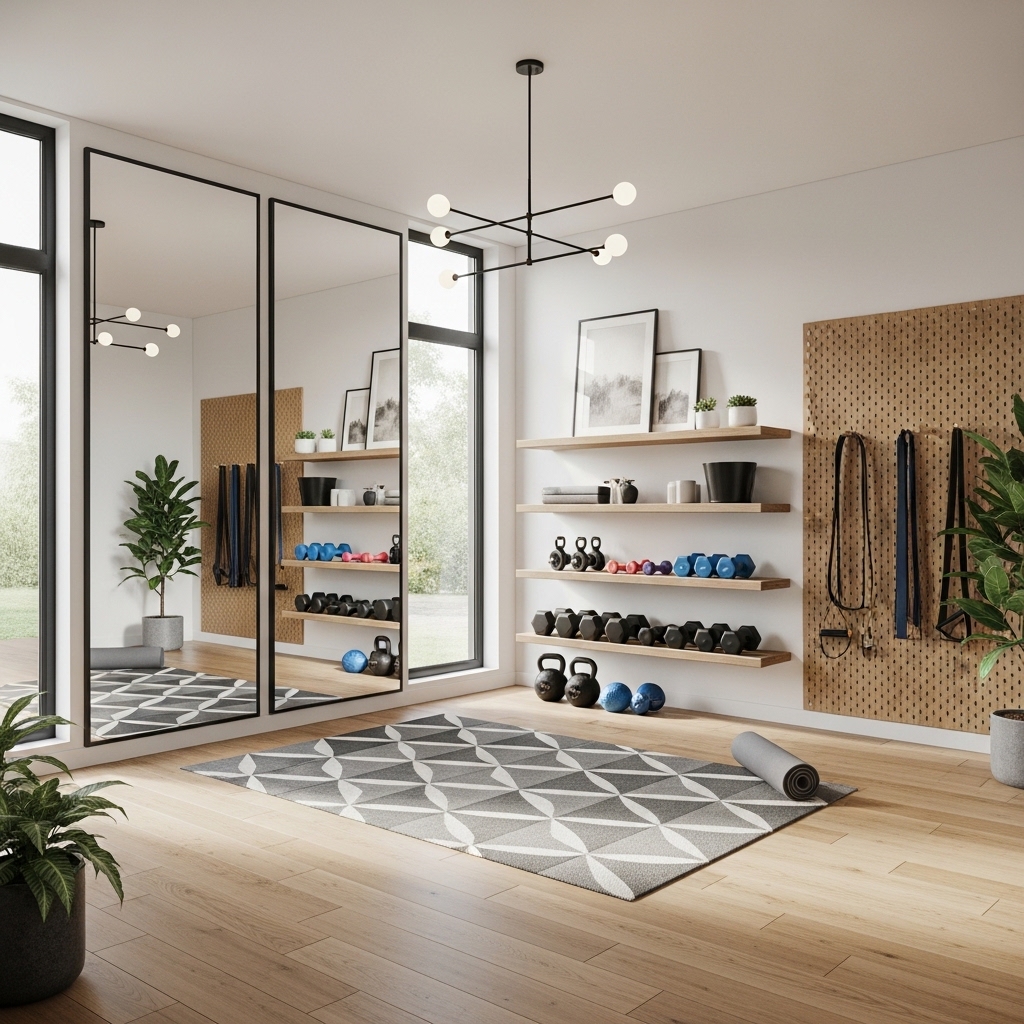
Creating a home gym ideas doesn’t mean sacrificing your carefully curated aesthetic or turning your living room into a sweaty equipment graveyard. Your workout space can blend seamlessly with your decor while keeping you motivated to actually use it. These ideas prove you don’t need a massive budget or dedicated room to build a gym that makes you excited to break a sweat. Ready to turn that awkward corner or spare bedroom into a fitness haven you’ll proudly show off? 1. Mirror Magic – The Ultimate Space-Saving Illusion Full-length wall mirrors serve double duty: You create the illusion of a larger space while checking your form during workouts. Mount them floor-to-ceiling on one wall, and suddenly your cramped 8×10 room feels like a boutique studio. The reflection bounces natural light around, making early morning sessions less dungeon-like. Frameless mirrors keep things modern and clean: You skip the ornate gold frames your grandmother loved and opt for sleek, beveled edges that disappear into your walls. They cost less than framed versions and make your space feel intentional rather than like you raided a dance studio’s clearance sale. Position them opposite windows for maximum light multiplication. READ MORE: 20 Dorm Room Ideas That Instantly Feel Cozy 2026 2. Floating Shelves for Your Weights – Because Floor Piles Are Not Decor Wall-mounted shelving gets dumbbells off your floor: You reclaim precious square footage while displaying weights like the sculptural objects they basically are. Install sturdy brackets rated for heavy loads, then arrange weights by size for a surprisingly satisfying gradient effect that reads as intentional design rather than gym chaos. Open shelving in matching wood tones ties everything together: You choose shelves that complement your existing furniture, whether that’s warm walnut or cool-toned oak. Stack yoga blocks, resistance bands, and foam rollers in woven baskets on upper shelves. This setup takes thirty seconds to tidy after workouts versus the “kick everything under the couch” method you’ve been using. READ MORE: 12 Galentine’s Party Decor Ideas to Make Your Girls Feel Like Queens 3. Vintage Lockers – Industrial Chic Meets Practical Storage Refurbished gym lockers add character and function: You score authentic pieces from school surplus sales or reproduction versions from home stores, then use them to stash shoes, towels, and resistance bands. The industrial vibe works equally well in modern farmhouse or urban loft aesthetics, and beats the plastic storage bins gathering dust in your garage. Paint them to match your color scheme: You transform rusty eyesores into statement pieces with spray paint in your favorite shade. Matte black reads sophisticated, sage green feels calming, and navy blue adds unexpected depth. Line the interiors with peel-and-stick wallpaper for a custom touch that makes grabbing your workout gear feel less like a chore. READ MORE: 15 Stunning Jacuzzi Outdoor Ideas to Transform Your Backyard 4. Area Rugs Define Your Workout Zone Without Permanent Commitment A durable rug creates visual boundaries in shared spaces: You drop a washable rug under your weights and suddenly your living room contains a gym instead of becoming one. Look for low-pile, stain-resistant options that won’t bunch under jumping movements or trap sweat like your plush bedroom carpet definitely would. Patterns hide wear better than solid colors: You choose geometric prints or subtle textures that camouflage the inevitable scuff marks from dropped weights. Persian-style rugs in performance materials give traditional elegance, while modern abstract patterns suit contemporary spaces. Roll it up when guests visit, and your secret workout spot disappears in thirty seconds flat. READ MORE: The Ultimate Guide to Cozy Home Decor for Small Homes 2026 5. Pegboard Walls -Perfect Organization Hack That Actually Works Pegboard panels turn walls into customizable storage systems: You mount a 4×8 sheet, paint it to match your trim, and suddenly you have a place for everything. Hang resistance bands on hooks, suspend jump ropes from pegs, and display your foam roller like the essential tool it is instead of letting it roll under your bed. Swap accessories as your routine evolves: You rearrange hooks without new nail holes, unlike that gallery wall disaster you’re still fixing. Add small shelves for water bottles or speakers, hang a mirror in the center, or create a motivation board section. The industrial-meets-organized aesthetic photographs beautifully for your own Pinterest boards – the circle of inspiration continues. READ MORE: These 10 Interior Design Trends Are Already Defining 2026, According to Experts 6. Fold-Down Wall Desks Repurposed as Workout Stations Murphy-style fold-down tables create instant workout surfaces: You mount a wall-mounted desk that drops down for yoga mat storage or holds your laptop during streaming workouts, then folds flush against the wall when you’re done. This beats leaving your yoga mat permanently unfurled across your floor like a sad purple welcome mat. Built-in storage compartments hide small equipment: You tuck resistance bands, massage balls, and workout cards into the desk’s cubby before folding it up. Choose wood finishes that match your existing furniture, and closed, it reads as intentional wall paneling rather than fitness equipment. Your guests will never suspect your elegant wall detail conceals your entire stretching routine. 7. Rolling Carts Bring Equipment Where You Need It Bar carts adapted for fitness keep supplies mobile: You wheel dumbbells from bedroom to living room depending on where motivation strikes that day. Three-tier metal carts in brass, black, or white finishes blend with any decor style while holding surprising weight when you choose sturdy models designed for kitchen use. Style them like you would any accent piece: You arrange weights on the bottom tier, yoga accessories in a pretty basket on the middle shelf, and a small plant plus motivational quote print on top. Park it in a corner as functional decor between workouts. This approach beats the “pile everything in the closet and forget it exists” system that killed your last fitness kick. 8. Curtain Room Dividers – Soft Boundaries for Open Spaces Ceiling-mounted curtain tracks separate workout zones in studios: You install tracks and hang curtains that